Tuesday, 27 December 2022

How to draw a polygon using Opencv + Python?

 import numpy as np

import cv2


# ============================================================================


CANVAS_SIZE = (1080, 1920)


FINAL_LINE_COLOR = (0, 255, 0)

WORKING_LINE_COLOR = (127, 127, 127)


# ============================================================================


class PolygonDrawer(object):

    def __init__(self, window_name):

        self.window_name = window_name # Name for our window


        self.done = False # Flag signalling we're done

        self.current = (0, 0) # Current position, so we can draw the line-in-progress

        self.points = [] # List of points defining our polygon

        self.fpoints = [] # List of points defining our polygon


    def on_mouse(self, event, x, y, buttons, user_param):

        # Mouse callback that gets called for every mouse event (i.e. moving, clicking, etc.)


        if self.done: # Nothing more to do

            return


        if event == cv2.EVENT_MOUSEMOVE:

            # We want to be able to draw the line-in-progress, so update current mouse position

            self.current = (x, y)

        elif event == cv2.EVENT_LBUTTONDOWN:

            # Left click means adding a point at current position to the list of points

            print("Adding point #%d with position(%d,%d)" % (len(self.points), x, y))

            self.points.append((x, y))

            self.fpoints.append([x/CANVAS_SIZE[1], y/CANVAS_SIZE[0]])

        elif event == cv2.EVENT_RBUTTONDOWN:

            # Right click means we're done

            print("Completing polygon with %d points." % len(self.points))

            self.done = True


    def run(self, frame):

        # Let's create our working window and set a mouse callback to handle events

        cv2.namedWindow(self.window_name)

        cv2.imshow(self.window_name, np.zeros(CANVAS_SIZE, np.uint8))

        cv2.waitKey(1)

        cv2.setMouseCallback(self.window_name, self.on_mouse)


        while(not self.done):

            # This is our drawing loop, we just continuously draw new images

            # and show them in the named window

            canvas = frame

            if (len(self.points) > 0):

                # Draw all the current polygon segments

                cv2.polylines(canvas, np.array([self.points]), False, FINAL_LINE_COLOR, 2)

                # And  also show what the current segment would look like

                cv2.line(canvas, self.points[-1], self.current, WORKING_LINE_COLOR)

            # Update the window

            cv2.imshow(self.window_name, canvas)

            # And wait 50ms before next iteration (this will pump window messages meanwhile)

            if cv2.waitKey(50) == 27: # ESC hit

                self.done = True


        # User finised entering the polygon points, so let's make the final drawing

        canvas = np.zeros(CANVAS_SIZE, np.uint8)

        # of a filled polygon

        if (len(self.points) > 0):

            cv2.fillPoly(canvas, np.array([self.points]), FINAL_LINE_COLOR)

        # And show it

        cv2.imshow(self.window_name, canvas)

        # Waiting for the user to press any key

        cv2.waitKey()


        cv2.destroyWindow(self.window_name)

        return canvas


# ============================================================================


if __name__ == "__main__":

    cap = cv2.VideoCapture("test.mp4")

    ret, frame = cap.read()

    if ret == False:

        exit()


    pd = PolygonDrawer("Polygon")

    image = pd.run(frame)

    cv2.imwrite("polygon.png", image)

    print("Polygon = %s" % pd.points)

    print("Normalized Polygon = %s" % pd.fpoints)

Tuesday, 20 December 2022

How to build opencv inside a docker to support both python and cpp?

 cmake -DCMAKE_BUILD_TYPE=RELEASE \

        -DCMAKE_INSTALL_PREFIX=/opt/conda/envs/python37/ \

        -DINSTALL_C_EXAMPLES=ON \

        -DOPENCV_GENERATE_PKGCONFIG=ON \

        -DINSTALL_PYTHON_EXAMPLES=ON \

        -DBUILD_SHARED_LIBS=ON \

        -DWITH_TBB=ON \

        -DWITH_V4L=ON \

        -DBUILD_opencv_world=OFF \

        -DOPENCV_PYTHON3_INSTALL_PATH=/opt/conda/envs/python37/lib/python3.7/site-packages/ \

        -DWITH_QT=ON \

        -DWITH_OPENGL=ON \

        -DWITH_FFMPEG=ON \

        -DHAVE_FFMPEG=OFF \

-DWITH_GSTREAMER=ON \

-DHAVE_GSTREAMER=ON \

        -DWITH_CUDA=ON \

        -DHAVE_CUDNN=ON \

        -DCUDNN_INCLUDE_DIRS=/usr/include/x86_64-linux-gnu \

        -DCUDNN_LIBRARY=/usr/lib/x86_64-linux-gnu/libcudnn.so.8.0.4 \

        -DWITH_CUFFT=ON \

        -DWITH_CUBLAS=ON \

        -DWITH_NVCUVID=OFF \

        -DHAVE_NVCUVID=OFF\

        -DWITH_NVCUVENC=ON \

        -DHAVE_NVCUVENC=ON \

        -DBUILD_CUDA_STUBS=OFF \

        -DBUILD_opencv_cudalegacy=ON \

        -DBUILD_opencv_cudacodec=ON \

        -DCUDA_FAST_MATH=ON \

        -DCUDA_ARCH_BIN="8.6" \

        -DCUDA_TOOLKIT_ROOT_DIR="/usr/local/cuda-11.1" \

        -DOPENCV_EXTRA_MODULES_PATH="/data/opencv_contrib-4.4.0/modules" \

        -DBUILD_NEW_PYTHON_SUPPORT=ON \

        -DBUILD_opencv_python3=ON \

        -DHAVE_opencv_python3=ON \

        -DPYTHON3_EXECUTABLE=/opt/conda/envs/python37/bin/python \

        -DPYTHON3_DEFAULT_EXECUTABLE=/opt/conda/envs/python37/bin/python \

        -DPYTHON3_INCLUDE_PATH=/opt/conda/envs/python37/include/python3.7m \

        -DPYTHON3_NUMPY_INCLUDE_DIRS=/opt/conda/envs/python37/lib/python3.7/site-packages/numpy/core/include \

        -DPYTHON3_PACKAGES_PATH=/opt/conda/envs/python37/lib/python3.7/site-packages/ \

        -DPYTHON3_LIBRARIES=/opt/conda/envs/python37/lib/libpython3.7m.so \

        -DPYTHON3_LIBRARIES_PATH=/opt/conda/envs/python37/lib \

-D OpenGL_GL_PREFERENCE=GLVND \

-D BUILD_opencv_rgbd=OFF \

        -D WITH_QT=ON \

        -D WITH_OPENGL=ON \

        -D WITH_GTK_2_X=ON \

        -DBUILD_EXAMPLES=OFF ..

Thursday, 8 December 2022

Wednesday, 7 December 2022

How to capture a single image from a rtsp link?

ffmpeg -rtsp_transport tcp -y -i rtsp://localhost:8554/abc -vframes 1 /data/images/1.jpg 

Tuesday, 6 December 2022

How to use Kafka to send and receive image using python and localhost?

Prerequisites:-

https://hevodata.com/blog/how-to-install-kafka-on-ubuntu/


pip install kafka-python


Producer code

import time
import random
from datetime import datetime
from kafka import KafkaProducer
import cv2
import json
import time
import numpy as np

ktf_host = "localhost:9092"
# Kafka Producer
producer = KafkaProducer(
bootstrap_servers=[ktf_host],
api_version=(0,10,1)
)

if __name__ == '__main__':
# Infinite loop - runs until you kill the program
image = cv2.imread("small.png")
print("image.shape: ", image.shape)
ret, buffer = cv2.imencode('.jpg', image)
while True:
# Send it to our 'messages' topic
print(f'Producing image @ {image.shape}')
t1 = time.time()
jtmp2 = {"data2": "test2"}
jdata = b"!@#$".join([buffer.tobytes(), json.dumps(jtmp2).encode("utf-8")])
producer.send('messages', jdata)
jdata = ""
t2 = time.time()
print("elapsed time (ms): ", (t2-t1)*1000)
# Sleep for a random number of seconds
time_to_sleep = random.randint(1, 3)
time.sleep(time_to_sleep)

consumer code

from io import BytesIO
from PIL import Image
import numpy as np
import cv2
import time
from kafka import KafkaConsumer
import json

if __name__ == '__main__':
# Kafka Consumer
ktf_host = "localhost:9092"
consumer = KafkaConsumer(
'messages',
bootstrap_servers=[ktf_host],
api_version=(0,10,1)
)
for message in consumer:
begin = time.time()
strs = message.value.split(b'!@#$')
jdata = json.loads(strs[1])
print(jdata)
end = time.time()
print("elapsed time (ms): ", (end - begin)*1000)

idata = BytesIO(strs[0])
pil_image = Image.open(idata).convert("RGB")
np_image = np.array(pil_image)
bgr_image = cv2.cvtColor(np_image, cv2.COLOR_RGB2BGR)
rs_image = cv2.resize(bgr_image, (640,640))
print(rs_image.shape)
#cv2.imshow("image", rs_image)
#cv2.waitKey(3)


spawn code:-

import time
import random
from datetime import datetime
from kafka import KafkaProducer
import cv2
import json
import time
import numpy as np
from multiprocessing import Process

ktf_host = "localhost:9092"


def run(camid):
# Kafka Producer
producer = KafkaProducer(
bootstrap_servers=[ktf_host],
api_version=(0,10,1),
buffer_memory=320000000
)
image = cv2.imread("birds.png")
print("image.shape: ", image.shape)
ret, buffer = cv2.imencode('.jpg', image)
while True:
# Send it to our 'messages' topic
# print(f'Producing image @ {image.shape}, {camid}')
t1 = time.time()
jtmp2 = {"data2": camid, "time": str(time.strftime("%Y-%m-%d %H:%M:%S", time.gmtime(time.time())))}
print(jtmp2)
jdata = b"!@#$".join([buffer.tobytes(), json.dumps(jtmp2).encode("utf-8")])
producer.send('messages', jdata)
jdata = ""
t2 = time.time()
# print("elapsed time (ms): ", (t2-t1)*1000)
# Sleep for a random number of seconds
time_to_sleep = random.randint(1, 3)
time.sleep(time_to_sleep)

if __name__ == '__main__':
# Infinite loop - runs until you kill the program
# instantiating process with arguments
procs = []
for camid in range(30):
# print(name)
proc = Process(target=run, args=(camid,))
procs.append(proc)
proc.start()

# complete the processes
for proc in procs:
proc.join()

Monday, 5 December 2022

How to use Nvidia Nsight Systems for Profiling inside Nvidia docker?

Step: download the nvidia nsight run file from this page

https://developer.nvidia.com/gameworksdownload#?search=Nsight

https://developer.nvidia.com/gameworksdownload#?dn=nsight-systems-2021-3-1-54

I am using this version when doing the testing: https://developer.nvidia.com/rdp/assets/nsight-systems-2021-3-linux-installer


Step: move the installer into docker and install inside docker, commit it


SQL

(inside docker)

sh NsightSystems-linux-public-2021.3.1.54-ee9c30a.run

(check nsys status)

nsys status -e

===

Sampling Environment Check

Linux Kernel Paranoid Level = -1: OK

Linux Distribution = Ubuntu

Linux Kernel Version = 5.4.0-81: OK

Linux perf_event_open syscall available: Fail

Sampling trigger event available: Fail

Intel(c) Last Branch Record support: Not Available

Sampling Environment: Fail

===

Commit the docker first and exit the docker to resolve the Fail issues


Step: to resolve the Fail of "nsys status -e" in the previous step


Groovy

(exit docker now, at host)

sudo sh -c 'echo kernel.perf_event_paranoid=2 > /etc/sysctl.d/local.conf' (reboot)

sudo vi /proc/sys/kernel/perf_event_paranoid (change 3 to 2)

cat /proc/sys/kernel/perf_event_paranoid

(the perf paranoid level on the target system must be ≤2)


adding a new flag to run the docker as following:-


docker run --cap-add=SYS_ADMIN --shm-size=1g --ulimit memlock=-1 --ulimit 

stack=67108864 --rm  -it  --runtime nvidia  --net=host  --security-opt 

apparmor:unconfined -e DISPLAY=$DISPLAY  -v /home/ninja/temp:/workspace 

-w /workspace nvcr.io/nvidia/deepstream:5.1-21.02-triton


(inside docker now)

nsys status -e

===

Sampling Environment Check

Linux Kernel Paranoid Level = -1: OK

Linux Distribution = Ubuntu

Linux Kernel Version = 5.4.0-81: OK

Linux perf_event_open syscall available: OK

Sampling trigger event available: OK

Intel(c) Last Branch Record support: Available

Sampling Environment: OK


Step: to run the profiling inside docker

Default analysis run


JavaScript

(profile cpu only)

nsys profile sh run.sh

or

nsys profile -o report1 ./main 1 rtsp://192.168.80.100

(after a while, stop it, it will generate a nsight report as report1.qdrep)

Limited trace only run


Nginx

nsys profile --trace=cuda,nvtx -d 20 --sample=none -o report2 sh run.sh


Apache

nsys profile -e TEST_ONLY=0 -y 20 -o report3 sh run.sh


Step: Configure the Nsight for the Python program to be profiled

  1. Install nvtx

pip install nvtx
  1. Write a python code with nvtx annotation, nvtx-quickstart.py


Python

import time

import nvtx


@nvtx.annotate(“f()”, color="purple")

def f():

for i in range(5):

with nvtx.annotate("loop", color="red"):

time.sleep(i)


f()


        3. Execute the profile command

CUDA_LAUNCH_BLOCKING=1 nsys profile python main.py 


Nginx

nsys profile -t nvtx,osrt --force-overwrite=true --stats=true \

--output=quickstart python nvtx-quickstart.py


SQL


(python37) ninja@luke:~/workspace/opencv_pyspace$ nsys profile \

-t nvtx,osrt --force-overwrite=true --stats=true --output=quickstart python test_nvtx.py


Collecting data...

Processing events...

Saving temporary "/tmp/nsys-report-4ebb-30b6-cd44-22af.qdstrm" file to disk...


Creating final output files...

Processing [===============================================================100%]

Saved report file to "/tmp/nsys-report-4ebb-30b6-cd44-22af.qdrep"

Exporting 1341 events: [===================================================100%]


Exported successfully to

/tmp/nsys-report-4ebb-30b6-cd44-22af.sqlite


Operating System Runtime API Statistics:


Time(%) Total Time (ns) Num Calls Average (ns) Minimum (ns) Maximum (ns) StdDev (ns) Name

------- --------------- --------- --------------- ------------- ------------- --------------- ---------

100.0 10,008,223,944 4 2,502,055,986.0 1,000,630,612 4,003,725,880 1,292,144,336.4 select

0.0 86,495 28 3,089.1 1,007 8,992 2,473.7 read

0.0 81,246 41 1,981.6 1,498 2,522 209.0 open64

0.0 15,682 9 1,742.4 1,542 2,018 163.1 mmap64

0.0 7,951 4 1,987.8 1,031 2,441 645.5 fopen64

0.0 3,262 3 1,087.3 1,067 1,100 17.8 fclose

0.0 1,106 1 1,106.0 1,106 1,106 0.0 sigaction

0.0 1,089 1 1,089.0 1,089 1,089 0.0 fflush


NVTX Range Statistics:


Time(%) Total Time (ns) Instances Average (ns) Minimum (ns) Maximum (ns) StdDev (ns) Style Range

------- --------------- --------- ---------------- -------------- -------------- --------------- ------- -----

50.0 10,008,687,995 1 10,008,687,995.0 10,008,687,995 10,008,687,995 0.0 PushPop f()

50.0 10,008,485,171 5 2,001,697,034.2 2,930 4,003,762,411 1,582,499,850.8 PushPop loop


Report file moved to "/home/ninja/workspace/opencv_pyspace/quickstart.qdrep"

Report file moved to "/home/ninja/workspace/opencv_pyspace/quickstart.sqlite"


  1. Open and view the nsight visual report, /home/ninja/workspace/opencv_pyspace/quickstart.qdrep


Step: to view the nsight report

Then open the nsight at host and load the report1.qdrep as following:-


Step: Run the Nvidia Nsight Systems in a terminal


Nginx

sudo sh -c 'echo 2 >/proc/sys/kernel/perf_event_paranoid'

sudo nsys-ui


Step: Configure the Nsight for the C++ program to be profiled


How to profile the python code using nsight?

ref: https://developer.nvidia.com/blog/nvidia-tools-extension-api-nvtx-annotation-tool-for-profiling-code-in-python-and-c-c/

Monday, 28 November 2022

How to change the docker network default base?

sudo vim /etc/docker/daemon.json

old:-

{
    "default-runtime": "nvidia",
    "runtimes": {
        "nvidia": {
            "path": "nvidia-container-runtime",
            "runtimeArgs": []
        }
    }
}


new:-

{
    "bip": "192.168.1.1/24",
    "default-runtime": "nvidia",
    "runtimes": {
        "nvidia": {
            "path": "nvidia-container-runtime",
            "runtimeArgs": []
        }
    }
}


Sunday, 27 November 2022

How to setup a remote desktop using google chrome with headless PC?


ref: https://bytexd.com/install-chrome-remote-desktop-headless/


  • Update the package index and install wget
    sudo apt update
    sudo apt-get install -y wget
  • Download the Debian Linux Chrome Remote Desktop installation package
    sudo wget https://dl.google.com/linux/direct/chrome-remote-desktop_current_amd64.deb
  • Install the package you just downloaded and its dependencies
    sudo dpkg --install chrome-remote-desktop_current_amd64.deb
    sudo apt install -y --fix-broken
  • In your SSH session install XFCE by running the following command:
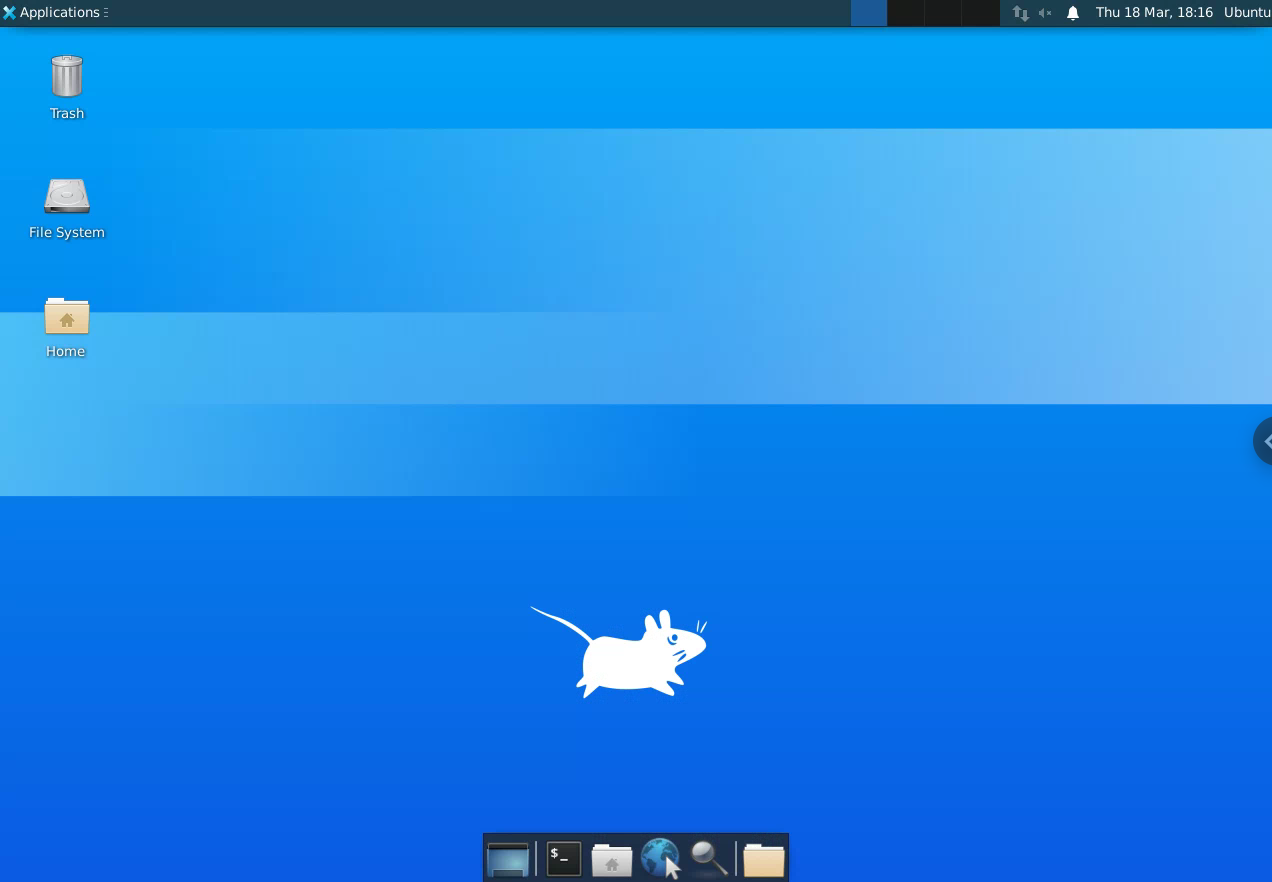
    sudo DEBIAN_FRONTEND=noninteractive apt install -y xfce4 desktop-base
  • Configure Chrome Remote Desktop to use XFCE by default:The
    DEBIAN_FRONTEND=noninteractive
    parameter suppresses a prompt that would have asked you to configure the keyboard layout.
    sudo bash -c 'echo "exec /etc/X11/Xsession /usr/bin/xfce4-session" > /etc/chrome-remote-desktop-session'
  • XFCE’s default screen locker, called Light Locker, doesn’t work well with Chrome Remote Desktop. The screen goes blank and can’t be unlocked. We’ll install XScreenSaver as an alternative:
    sudo apt install -y xscreensaver
  • in your SSH session run the following command to add your user to the chrome-remote-desktop group:
    sudo usermod -a -G chrome-remote-desktop $USER
  • On your local computer, using your Google Chrome browser, go to the remote desktop command line setup page: https://remotedesktop.google.com/headless


  • The code looks something like:
    DISPLAY= /opt/google/chrome-remote-desktop/start-host \
    --code="4/xxxxxxxxxxxxxxxxxxxxxxxx" \
    --redirect-url="https://remotedesktop.google.com/_/oauthredirect" \
    --name=
  • Run the command in your SSH window.
    • If you’re prompted to enter a name for the computer, you can enter anything you like
    • When prompted to enter a PIN with at least 6 digits, enter any PIN you’d like to use. You’ll use this PIN as a password when connecting to the remote desktop in Google Chrome.

    Here is the command I ran:

    DISPLAY= /opt/google/chrome-remote-desktop/start-host --code="4/0AY0e-g5vJrJF7iw3I9Kc5tO8KFRZ3GPfKBPP61at LWvyczaP0sF9mhX4BizyZmICAUR7yg" --redirect-url="https://remotedesktop.google.com/_/oauthredirect" --name=$(hostname)

    Here is my output:

    Enter a PIN of at least six digits:
    Enter the same PIN again:

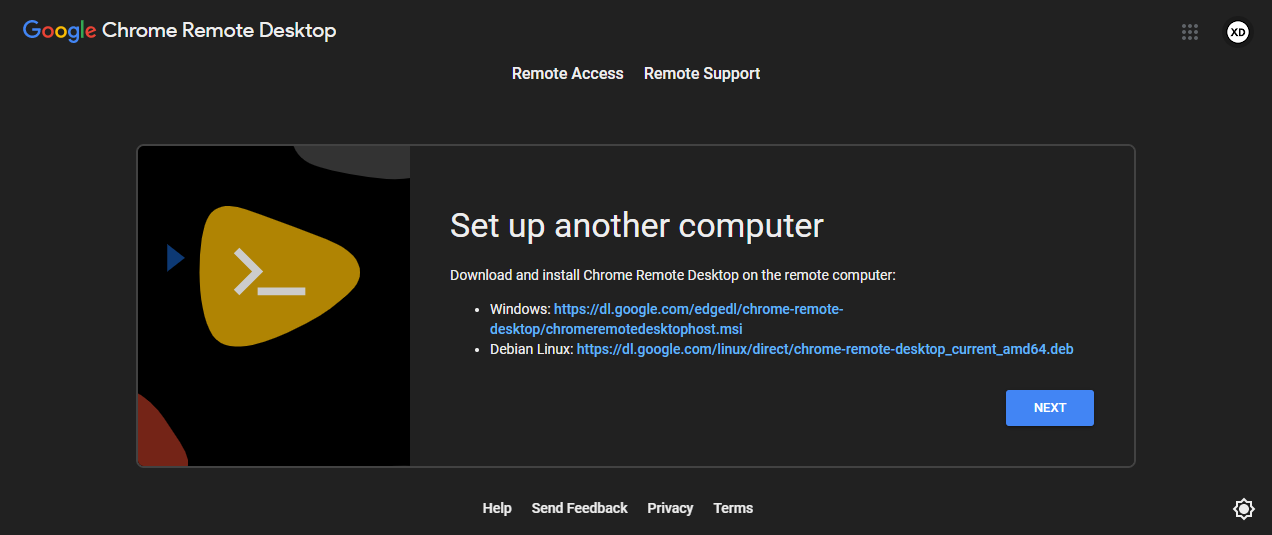
  • On your local computer visit the Chrome Remote Desktop website.If the setup worked, then you should see your Ubuntu 22.04/20.04 machine’s name listed in the Remote devices section of the page.I have a remote server with the hostname rdp that I created for this tutorial. Here is how the page looks like to me: