1. to check the container id
# docker ps
2. to copy a file from host to container
# sudo docker cp ./test.mp4 73411ab49381:/workspace/input
1. to check the container id
# docker ps
2. to copy a file from host to container
# sudo docker cp ./test.mp4 73411ab49381:/workspace/input
First compile the opencv using the previous post
Second, modify the Makefile as following:-
all:demo
CFLAGS = `pkg-config --cflags opencv4`
LIBS = `pkg-config --libs opencv4`
SRC:=main.cpp file2.cpp file3.cpp file4.cpp
demo:$(SRC)
g++ $(CFLAGS) -std=c++11 -Wall -O2 $^ -c -Iffmpeg/include/ -I rtspperf/inc
g++ $(LIBS) -g *.o -o main -lopencv_core -lopencv_imgproc -lopencv_imgcodecs -ldl -lz -lm -llzma
@rm *.o -f
clean:
rm -f demo
For normal PC, we are using PCIe 3.0 for connecting to 2080Ti.
For training, it is better using NVLink and the data throughput is much faster than PCIe.
However, for deployment or model inference, PCIe is more than enough.
https://mobaxterm.mobatek.net/
https://github.com/subhra74/snowflake
ref: https://stackoverflow.com/questions/8305866/how-do-i-analyze-a-programs-core-dump-file-with-gdb-when-it-has-command-line-pa
If you want to pass parameters to the executable to be debugged in GDB, use --args.
For example:
$ gdb --args ./crash -p param1 -o param2
GNU gdb (GDB) 7.1-ubuntu
...
(gdb) r
Starting program: /home/@@@@/crash -p param1 -o param2

Program received signal SIGSEGV, Segmentation fault.
__strlen_ia32 () at ../sysdeps/i386/i686/multiarch/../../i586/strlen.S:99
99    ../sysdeps/i386/i686/multiarch/../../i586/strlen.S: No such file or directory.
    in ../sysdeps/i386/i686/multiarch/../../i586/strlen.S
(gdb)
check this location /home/ninja/workspace/opencv-3.4.4/distribute/lib/pkgconfig
export PKG_CONFIG_PATH=/home/ninja/workspace/opencv-3.4.4/distribute/lib/pkgconfig
import os
import hickle as hkl
import numpy as np
# create a numpy array of data
array_obj = np.ones(32768, dtype='float32')
# dump to file
hkl.dump(array_obj, 'test.hkl', mode='w')
# dump data, with compression
hkl.dump(array_obj, 'test_gzip.hkl', mode='w', compression='gzip')
# compare filesizes
print('uncompressed: {} bytes'.format(os.path.getsize('test.hkl')))
print('compressed: {} bytes'.format(os.path.getsize('test_gzip.hkl')))
# load data
array_hkl = hkl.load('test_gzip.hkl')
# check the two are the same file
assert array_hkl.dtype == array_obj.dtype
assert np.all((array_hkl, array_obj))
# ===
# hdf5 compression options
# datasets are stored as B-trees, data are split into chunks
# fletcher32=True computes a checksum
# scaleoffset=0, move the data around to improve compression ratios
# hkl.dump(array_obj, 'test_lzf.hkl', mode='w', compression='lzf', scaleoffset=0, \
# chunks=True, shuffle=True, fletcher32=True)
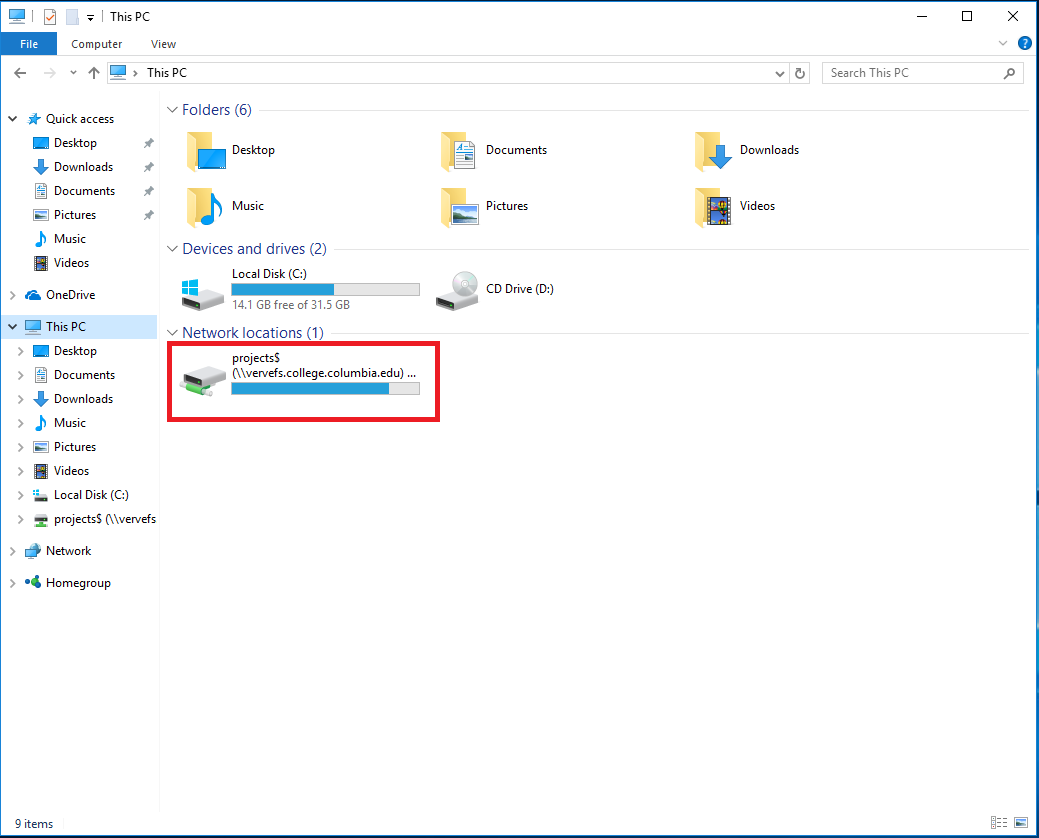
p/s: copied from https://ccit.college.columbia.edu/knowledgebase/article/how-map-network-drives-windows-10
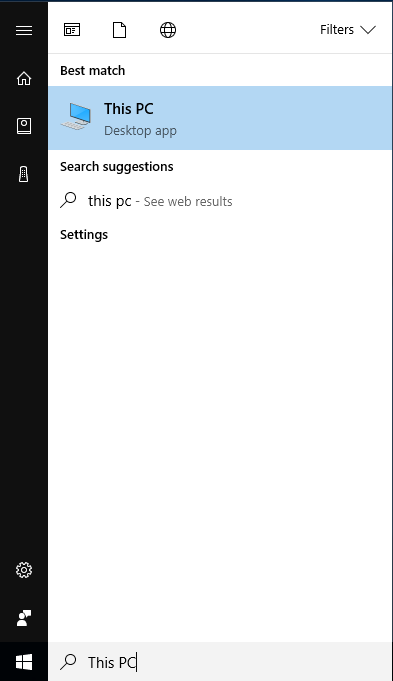
Press Windows key to open Search. Type This PC into the Search.
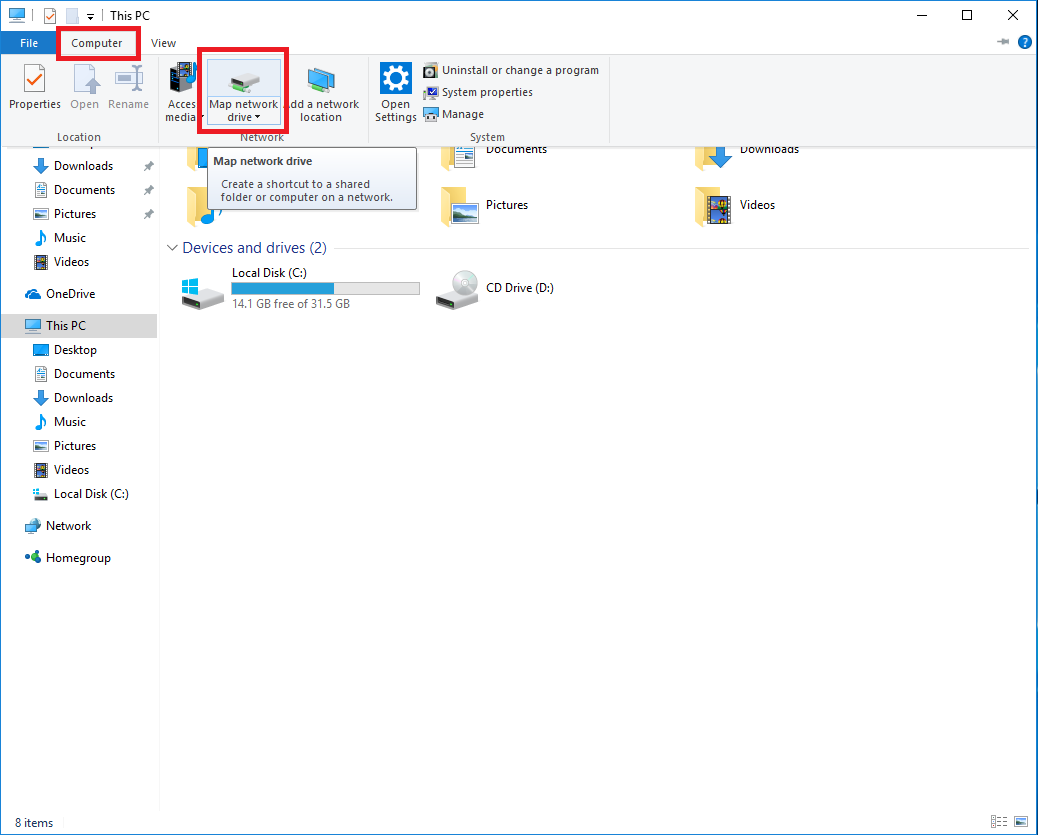
Click Computer at the top. Select Map network drive.
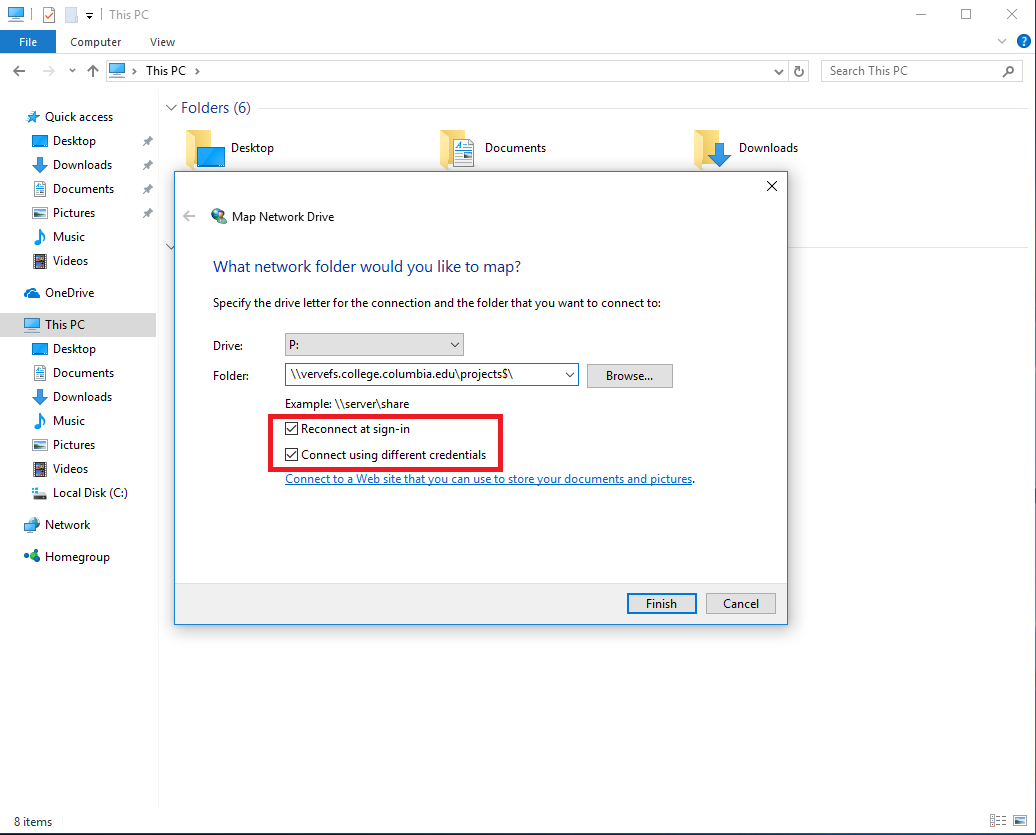
In the Map Network Drive window choose which Drive Letter you wish to assign to the Network Drive you're currently mapping. In the Folder field, enter the full network path you wish to map (this path should be provided to you by your CC sponsor or CCIT personnel). As shown in the screen shot below, be sure to check the boxes for Reconnect at sign-in and Connect using different credentials. When all fields are filled out, click Finish
For Columbia College Staff, the most commonly used shared drives have the following addresses:
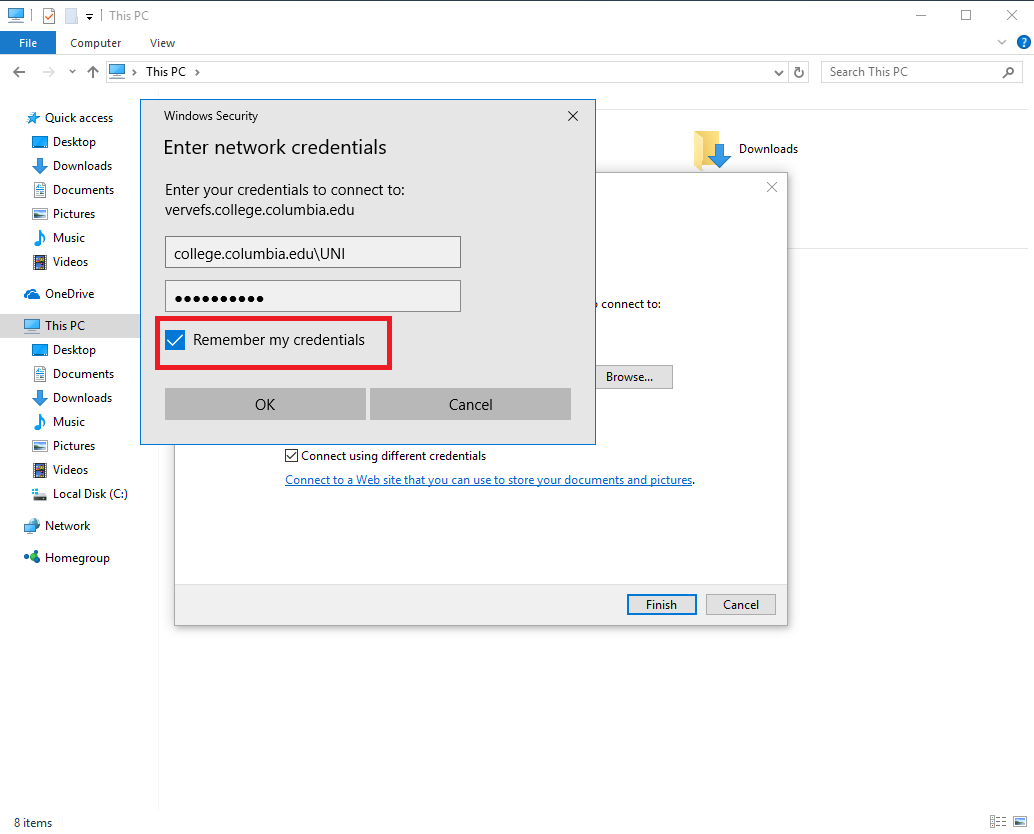
You'll be asked to enter a set of credentials to access the Network share you're trying to map. At this time, enter your COLLEGE login credentials. Be sure to enter the full domain path before your UNI, as shown in the screen shot below. Check the box Remember my credentials, then click OK.
When completed the Network share should be mapped for you and will be accessible from the This PC window.
#include <opencv2/hdf.hpp>
using namespace std;
static void write_multiple_channels(cv::Mat data)
{
std::string filename = "data.h5";
std::string parent_name = "/data";
std::string dataset_name = parent_name + "/two_channels";
// prepare data
for (size_t i = 0; i < data.total()*data.channels(); i++)
((float*) data.data)[i] = (float)i;
cv::Ptr<cv::hdf::HDF5> h5io = cv::hdf::open(filename);
// first we need to create the parent group
if (!h5io->hlexists(parent_name)) h5io->grcreate(parent_name);
// create the dataset if it not exists
if (!h5io->hlexists(dataset_name)) h5io->dscreate(data.rows, data.cols, data.type(), dataset_name);
// the following is the same with the above function write_root_group_single_channel()
h5io->dswrite(data, dataset_name);
cv::Mat expected;
h5io->dsread(expected, dataset_name);
double diff = norm(data - expected);
CV_Assert(abs(diff) < 1e-10);
h5io->close();
}
===
import h5py
import numpy as np
h5data = h5py.File("data.h5",'r')
temp = h5data.get('/data/two_channels')
temp = np.array(temp)
import pdb; pdb.set_trace()
source ~/anaconda3/etc/profile.d/conda.sh
conda activate python2
python parse_log.py ../train.log .
python plot_loss.py
Netron is a viewer for neural network, deep learning and machine learning models.
Netron supports ONNX (.onnx, .pb, .pbtxt), Keras (.h5, .keras), Core ML (.mlmodel), Caffe (.caffemodel, .prototxt), Caffe2 (predict_net.pb), Darknet (.cfg), MXNet (.model, -symbol.json), Barracuda (.nn), ncnn (.param), Tengine (.tmfile), TNN (.tnnproto), UFF (.uff) and TensorFlow Lite (.tflite).
Netron has experimental support for TorchScript (.pt, .pth), PyTorch (.pt, .pth), Torch (.t7), Arm NN (.armnn), BigDL (.bigdl, .model), Chainer (.npz, .h5), CNTK (.model, .cntk), Deeplearning4j (.zip), MediaPipe (.pbtxt), ML.NET (.zip), MNN (.mnn), PaddlePaddle (.zip, __model__), OpenVINO (.xml), scikit-learn (.pkl), TensorFlow.js (model.json, .pb) and TensorFlow (.pb, .meta, .pbtxt, .ckpt, .index).

macOS: Download the .dmg file or run brew cask install netron
Linux: Download the .AppImage file or run snap install netron
Windows: Download the .exe installer or run winget install netron
Browser: Start the browser version.
Python Server: Run pip install netron and netron [FILE] or netron.start('[FILE]').
Sample model files to download or open using the browser version:
reference: https://github.com/lutzroeder/netron

https://developer.nvidia.com/embedded/linux-tegra
https://developer.nvidia.com/embedded/L4T/r32_Release_v4.3/t186ref_release_aarch64/Tegra186_Linux_R32.4.3_aarch64.tbz2
https://developer.nvidia.com/embedded/L4T/r32_Release_v4.3/t186ref_release_aarch64/Tegra_Linux_Sample-Root-Filesystem_R32.4.3_aarch64.tbz2
recovery instructions:-
https://docs.nvidia.com/jetson/l4t/index.html#page/Tegra%2520Linux%2520Driver%2520Package%2520Development%2520Guide%2Fquick_start.html%23wwpID0E0BE0HA